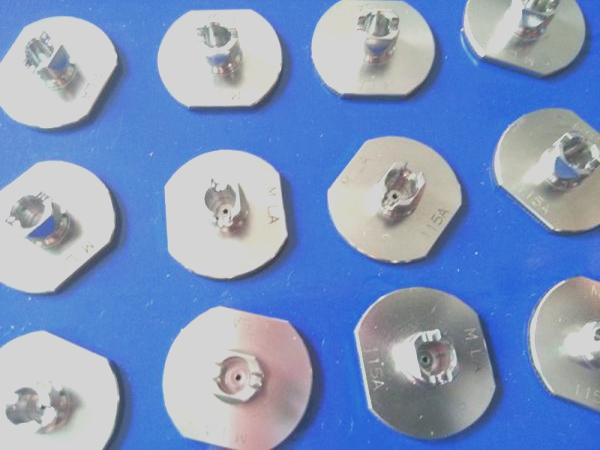
Adjustment method of nozzle reset sensor
For the production of "nozzle response sensor is not open" alarm, the following is a general strategy.

First understand the working principle of the nozzle response sensor: in the H axis below, there is a laser generator, issued a laser beam, the laser beam directly in the Inner Shaft's head black O-ring, through the reflective, laser The Inner Shaft is relatively strong, and by contrasting the reflectance in both states, the amplifier gives a bound Value, to determine whether the nozzle is back.
Therefore, adjust the nozzle to respond to the sensor, the first to ensure that the laser point aligned O-ring, H axis under pressure laser point should also be aligned with the Inner Shaft, so adjust the nozzle before the sensor must ensure that the laser spot alignment position. At the same time the size of the laser spot can be adjusted by adjusting the focal length of the laser head to adjust the spot size to just oights O-Ring is appropriate, too big will cause miscarriage of justice, too small will make the contrast between the two states is relatively small, so try Align O-Ring and Inner Shaft.
The general adjustment steps are as follows:
1) First in the Inner Shaft origin (that is, the H-axis is not under pressure), the signal red light in a state, that is, when the nozzle is in the state of recovery. At this time there will be a display on the amplifier value, generally 100-700, Press the SET button, then the middle of the orange will be bright.
2) In the manual screen will be under the H axis -2mm, this time in the SET button. At this time the amplifier will be based on two state comparison, automatically calculate the boundary value.
3) At this point the sensor set on it, check the state of each nozzle: the origin, the red light, under pressure -2mm, the red light does not shine, and the green light will be more than orange light.
In fact, the above steps is to reset the boundaries of the amplifier, under normal circumstances, this adjustment is OK! But sometimes there will be alarm, this time the general adjustment of the value to solve. As follows:
4) After pressing <- or ->, the number of the amplifier will blink, the flashing value is the boundary value. When the number is still blinking, press <- or -> to adjust the size of the boundary value. After adjustment, But also to confirm the state of each nozzle, the method is the origin, the red light, under pressure -2mm, the red light does not shine, and the green light will be more than orange light.
Note: the adjustment must ensure that the nozzle does not reply, the sensor must determine the accuracy, be sure to determine the nozzle did not reply, otherwise it will cause the nozzle to interrupt or more serious consequences, and must be a nozzle must Are confirmed once.
Conveyor belt amplifier adjustment method
There are two sensors on the conveyor belt, all of which are light-receiving sensors, one for the parts that have fallen and the other for the conveyor belt. Each sensor has an amplifier, principle and nozzle The principle of reverting the sensor amplifier is the same, except that the adjustment method is slightly different.
1. First of all to confirm the L-D dial key must be in the L position, this is the output of a bright signal, in this state, no part of the block, the red light is always in the state.
2. Reset the amplifier status. Dial the SET-ADJ-RUN dial to the set state while pressing the teach.mode key 3Sec when the display is NO? , Then press the teach key, then show YES ?, and then press the mode key, the dial key back to run, then reset to OK.
3. After the reset, the amplifier's threshold will be automatically adjusted to 5, but this is far from enough. In the absence of part of the block, the amplifier display value is generally above 2000, so the threshold is generally set at Step 1: Set the SET-ADJ-RUN to the ADJ position. At this point, the boundary value is displayed by pressing <->>. After adjusting the boundary value, Dial to RUN to work properly.

